
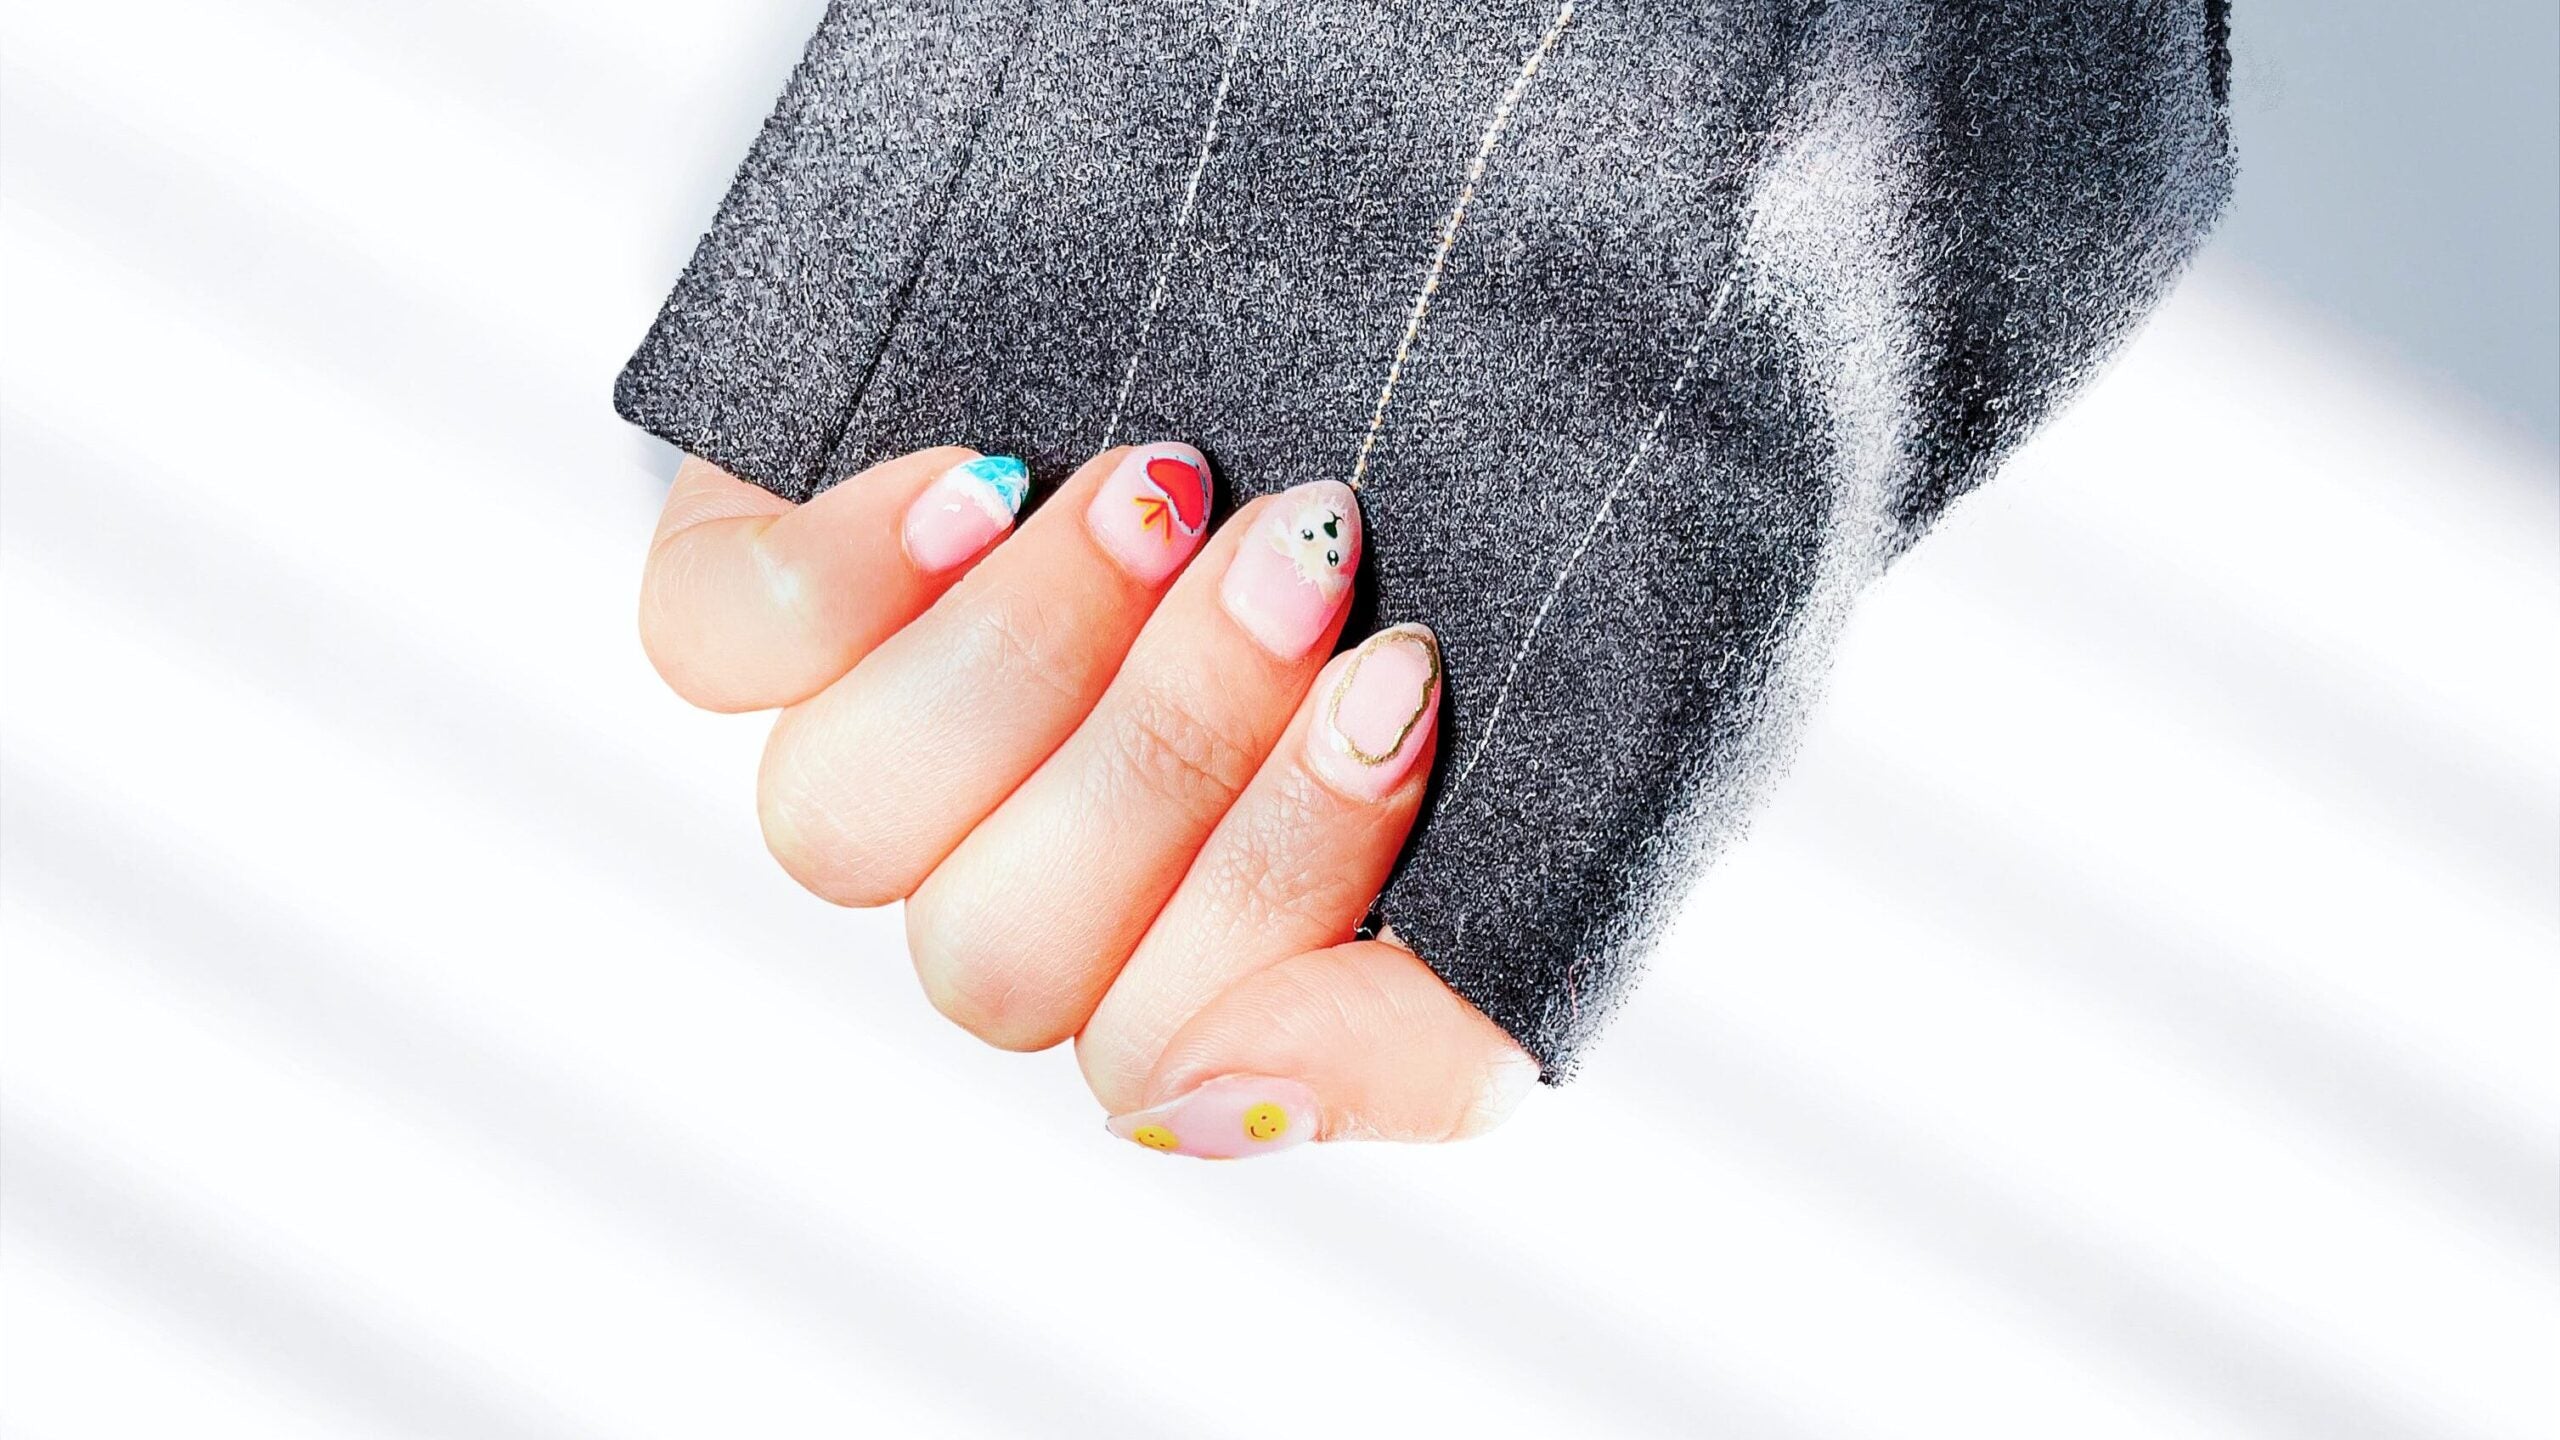
Sugar nails are a unique and stylish trend in the world of manicures. They offer a sweet and playful look that can help you stand out from the crowd. Instead of using traditional nail polish, sugar nails use edible ingredients like sugar, honey, and food coloring to create beautiful designs on your nails. With a little practice and some creativity, you can create your own custom designs and make your manicure look like a work of art.
Whether you're looking for a subtle hint of color or something more dramatic, sugar nails are sure to help you get the look you want. So, if you're ready to try something new and exciting, why not give sugar nails a try? You won't be disappointed.
Introduction Of Sugar Nails Art

What makes sugar nails so special is that they give your manicure an extra level of fun and creativity. It's a great way to express yourself through unique designs, colors, and textures. Plus, the edible ingredients used in sugar nails are safe for both you and the environment. Unlike traditional nail polishes, sugar nails don't contain any harsh chemicals or toxins that could be harmful to your skin or nails. This makes them a great option for anyone looking for a more natural and eco-friendly manicure.
Applying sugar nails is easy and only requires a few simple steps. First, you'll need to paint your nails with a base coat of clear polish. Once the base coat is dry, you can apply edible ingredients like sugar, honey, or food coloring directly onto your nails. You can then use a toothpick or other pointed utensil to create intricate designs and patterns on your nails. Once you're done creating your design, simply seal it with a clear top coat of polish and let it dry. With a little practice, you'll be creating beautiful sugar nail designs in no time!
10 Top Tips on How to Apply Sugar Nails
1. Start with a clean slate:
Before you start applying sugar nails, make sure to wash and dry your hands thoroughly. This will help ensure that the sugar stays on your nails longer and doesn’t chip off easily.
2. Use a base coat of clear polish:
Applying a base coat of clear polish helps create an even surface for the sugar to stick to and makes it easier to remove later on.
3. Use edible ingredients:
Ingredients like honey, sugar, and food coloring are the best options for creating your own unique designs with sugar nails.
4. Get creative with colors:
Mixing colors can help you create interesting patterns and designs. Try combining colors like pink, yellow, blue, or green to make your manicure look extra special.
5. Use a toothpick or other utensil:
A toothpick is great for creating intricate details and patterns on your nails. You can also use thin kitchen knives or tweezers if you’d like.
6. Let the design dry:
Once you’re finished with your design, give it some time to dry before sealing it with a top coat of clear polish.
7. Apply a top coat of clear polish:
Applying a clear topcoat will help protect your sugar nails and make them last longer.
8. Clean up any mess:
Don’t forget to clean up any spilled sugar or food coloring with a damp cloth before it dries and hardens on your fingers.
9. Don’t rush the process:
Creating beautiful designs takes time and practice, so don’t rush the process. Take your time and enjoy it!
10. Show off your art:
Once you’re finished, don’t forget to show off your hard work—take a picture of your sugar nails and share it with your friends!
Guidelines For Making Intricate Sugar Nails Art Designs
1. Floral:
Create a beautiful floral design with different colored sugars and use a toothpick to draw individual petals or entire bouquets on each nail.
2. Geometric:
Use bold colors like black, white, and red to make geometric shapes such as circles, squares, and triangles on your nails for an edgy look.
3. Glitter:
Mix fine glitter with other edible ingredients like sugar and honey for a sparkling manicure that’s sure to turn heads.
4. Ombre:
Create a subtle ombre effect by using two different shades of sugar to transition from one color to another on each nail.
5. Polka dots:
Draw small circles with a toothpick onto your nails and fill them in with different colors for an easy polka-dotted look.
6. Marble:
Combine various colors of sugar together to create a marble effect on each nail that’s sure to wow your friends.
7. Stripes:
Create bold stripes with contrasting colors for a timeless look that’s perfect for any occasion.
8. Confetti:
Mix together a variety of different colored sugars to create a confetti-like manicure that will add some sparkle to your look.
9. Animal print:
Combine different colored sugars to create an animal print pattern on your nails for a wild look.
10. Splatter paint:
Use a toothpick or other utensil to fling small dots of sugar onto each nail for a fun and creative splatter-paint effect.
11. Drip:
Create a dripping effect with different colored sugars for an eye-catching manicure that will definitely draw some attention.
12. Starburst:
Combine circular and triangular shapes with various colors of sugar to create a modern starburst design on each nail.
13. Negative space:
Leave some empty spaces between the sugar designs for a negative space nail design that’s perfect for a minimalist look.
14. French tip:
Create a classic French-tip manicure with white and pink sugars, using a thin brush to paint the tips of each nail.
15. Abstract:
Mix together different colors of edible ingredients like sugar, honey, and food coloring to create an abstract design for each nail.
20 Perfect Colors Combinations to Use for A Fun Flirty Look When Rocking Sugar Nails

1. Pink and purple:
Create a soft and feminine look with these two colors that are sure to make your nails pop.
2. Blue and yellow:
Make an eye-catching combination of these two bright colors for a fun and flirty nail design.
3. Orange and green:
This complementary color combo will give your nails a vibrant and energetic look.
4. White and pink:
Create a modern twist on the classic French-tip manicure with these soft colors for a subtle and elegant look.
5. Red and black:
Make a bold statement with this classic color combination that’s sure to turn heads.
6. Teal and gold:
Mix these two colors together for a shimmering and glamorous look that’s perfect for any occasion.
7. Silver and purple:
Create a glamorous look with this elegant combination of silver and purple sugars to make your nails shine.
8. Yellow and blue:
Create a fun and playful look with this eye-catching combination of colors.
9. Blue and silver:
Create an edgy look with these two metallic colors that are sure to make your nails stand out.
10. Pink and black:
Mix these two contrasting colors for a modern twist on the classic French-tip manicure.
11. Gray and yellow:
Make a statement with this bold color combination that’s perfect for any fun occasion.
12. Red and white:
Create an eye-catching look with this modern twist on the classic red and white stripes.
13. Gold and black:
Make a glamorous and edgy look with this bold color combination.
14. Blue and pink:
Combine these two colors for a soft and feminine nail design that’s sure to turn heads.
15. Orange and blue:
Mix these two contrasting colors for an eye-catching look with a hint of edge.
16. Green and silver:
Create a modern look with this chic combination that’s sure to make your nails stand out.
17. White and yellow:
Combine these two bright colors for a fun and flirty nail design.
18. Purple and gold:
Mix these two colors together for a glamorous and shimmering look.
19. Red and gold:
Create an elegant look with this classic color combination for a timeless manicure.
20. Pink and silver:
Combine these two metallic colors to create a modern twist on the classic French-tip manicure.
Popular Environmentally Friendly Brands for Sugar Nail Art
1. Piggy Paint:
Piggy Paint is an eco-friendly and kid-friendly nail polish brand that offers a range of fun and creative sugar nail art products made with non-toxic, organic ingredients.
2. Londontown Lakur:
Londontown Lakur is a luxury vegan nail brand specializing in plant-based, cruelty-free nail polishes and sugar nail art products.
3. Butter London:
Butter London is a popular vegan and cruelty-free nail polish brand that offers a wide range of fun and creative sugar nail art products made with natural ingredients.
4. Ella + Mila:
Ella + Mila is an eco-friendly vegan and cruelty-free nail polish brand that offers a range of fun and creative sugar nail art products made with natural ingredients.
5. Zoya:
Zoya is a popular vegan and cruelty-free nail polish brand that offers a wide range of fun and creative sugar nail art products made with natural ingredients.
6. Suncoat:
Suncoat is an eco-friendly and vegan nail polish brand specializing in plant-based, cruelty-free nail polishes and sugar nail art products.
7. OPI:
OPI is a popular vegan and cruelty-free nail polish brand that offers a wide range of fun and creative sugar nail art products made with natural ingredients.
8. Karma Organic Spa:
Karma Organic Spa is an eco-friendly vegan and cruelty-free nail polish brand specializing in plant-based, cruelty-free nail polishes and sugar nail art products.
9. Honeybee Gardens:
Honeybee Gardens is a popular vegan and cruelty-free nail polish brand that offers a wide range of fun and creative sugar nail art products made with natural ingredients.
10. Neve Cosmetics:
Neve Cosmetics is an eco-friendly vegan and cruelty-free nail polish brand specializing in plant-based, cruelty-free nail polishes and sugar nail art products.
Each of these brands provides an array of sugar nail art products that are made with natural ingredients and are free from harsh chemicals, making them safe for your nails and the environment. Whether you’re looking for a subtle color or a bold design, these brands offer sugar nail art that is sure to give your nails the perfect look. So, don’t wait any longer and try out one of these popular environmentally friendly brands for sugar nail art today!
10 Beautiful Nail Designs with Glitter, Sequins, And Rhinestones for Sugar Nails

1. Glitter Gradient:
Create a beautiful glitter gradient with this fun and easy nail art technique. Start by painting your nails in the color of your choice and then add a layer of glitter to create a smooth, seamless transition from light to dark. Finish off the look by adding some sequins or rhinestones for extra sparkle and shine.
2. Geometric Glitter:
Create a modern nail art look with this geometric glitter design. Start by painting your nails in the color of your choice and then add some metallic sequins or rhinestones to create an interesting geometric pattern. Finish off the look with a layer of glitter for added sparkle.
3. Glitter Ombre:
This ombre nail art look is sure to turn heads! Start by painting your nails in the color of your choice and then use a sponge to add a layer of glitter from dark to light. Finish off the look with some sequins or rhinestones for extra shimmer and shine.
4. Glitter Stripes:
Create a bold and eye-catching look with this glitter stripes nail art technique. Start by painting your nails in the color of your choice and then add some thin strips of glitter for visual interest. Finish off the look with some shimmery sequins or rhinestones for an extra pop of glamour.
5. Glitter French Tips:
This classic nail art look gets a modern upgrade with this glitter French tips technique. Start by painting your nails in the color of your choice and then add some thin strips of glitter for a stylish twist on the classic French tip design. Finish off the look with some sequins or rhinestones for extra sparkle.
6. Glitter Accents:
Add a unique and stylish touch to your nails with this glitter accents nail art design. Start by painting your nails in the color of your choice and then add some glitter accents to create an interesting pattern. Finish off the look with some shimmery sequins or rhinestones for a touch of glamour.
7. Glitter Stamping:
Channel your inner artist with this glitter stamping nail art technique. Start by painting your nails in the color of your choice and then use a special stamping tool to create an interesting pattern using glitter polish. Finish off the look with some sequins or rhinestones for added glamour.
8. Glitter Negative Space:
Create a unique and eye-catching look with this glitter negative space nail art technique. Start by painting your nails in the color of your choice and then add some glitter accent pieces to create an interesting design. Finish off the look with some shimmery sequins or rhinestones for extra sparkle.
9. Glitter Fade:
This glitter fade nail art look is perfect for those looking to make a statement! Start by painting your nails in the color of your choice and then add some glitter polish to create a smooth, seamless transition from light to dark. Finish off the look with some sequins or rhinestones for extra shimmer and shine.
10. Glitter Splatter:
This glitter splatter nail art technique adds a fun and unique touch to your nails. Start by painting your nails in the color of your choice and then use a special brush to create an interesting splatter pattern using glitter polish. Finish off the look with some shimmery sequins or rhinestones for a glamorous touch.
With these ten fun and easy nail art techniques, you can create a beautiful and unique look that will have everyone talking! Whether you choose to go bold with glitter gradient or subtle with glitter accents, your nails will be sure to sparkle and shine. So, get creative, have fun, and get ready to show off your new look!
Sugar Sculpture Designs for Unique Occasions
1. Flowers
Create beautiful flower-inspired sugar nails for special events! Start by creating a base layer of petals with colored fondant, then place each individual petal onto the base to form the desired pattern. Add some colorful icing details for extra texture and finish off the look with sparkly sugar sprinkles for an eye-catching effect.
2. Birds
Create whimsical sugar nails featuring birds for special events! Start by creating the base shape of the bird with fondant and then add some colorful details such as feathers, beaks, and eyes to complete the look. Finish off the design with some sparkly sugar sprinkles for an extra touch of glamour.
3. Leaves
Create impressive sugar nails featuring leaves for special events! Start by creating the base shape of the leaf with fondant and then add some colorful details such as veins, curly tendrils, and highlights to complete the look. Finish off the design with some sparkly sugar sprinkles for an eye-catching effect.
4. Hearts
Create beautiful sugar nails featuring hearts for special events! Start by creating the base shape of the heart with fondant and then add some colorful details such as polka dots, stripes, and ribbons to complete the look. Finish off the design with some sparkly sugar sprinkles for a finishing touch.
5. Stars
Create eye-catching sugar nails featuring stars for special events! Start by creating the base shape of the star with fondant and then add some colorful details such as glitter, sequins, and sparkles to complete the look. Finish off the design with shimmery sugar sprinkles for an extra touch of glamour.
6. Rainbows
Create cheerful sugar nails featuring rainbows for special events! Start by creating the base shape of the rainbow with fondant and then add some colorful details such as stripes, clouds, and stars to complete the look. Finish off the design with sparkly sugar sprinkles for an extra touch of whimsy.
7. Butterflies
Create beautiful sugar nails featuring butterflies for special events! Start by creating the base shape of the butterfly with fondant and then add some colorful details such as antennae, wings, and trails to complete the look. Finish off the design with some sparkly sugar sprinkles for an extra touch of glamour.
8. Sunsets
Create stunning sugar art design featuring sunsets for special events! Start by creating the base shape of the sunset with fondant and then add some colorful details such as clouds, stars, and sunrays to complete the look. Finish off the design with sparkly sugar sprinkles for an extra touch of whimsy.
9. Clouds
Create a whimsical sugar nails featuring clouds for special events! Start by creating the base shape of the cloud with fondant and then add some colorful details such as rainbows, stars, and birds to complete the look. Finish off the design with some shimmery sugar sprinkles for an extra touch of glamour.
10. Diamonds
Create a luxurious sugar art design featuring diamonds for special events! Start by creating the base shape of the diamond with fondant and then add some colorful details such as sparkles, glitter, and rhinestones to complete the look. Finish off the design with some sparkly sugar sprinkles for an eye-catching effect.
Conclusion
Sugar nails is a great way to express your personal style and show off your creative flair. With the many different designs, styles, and techniques available, you can create the perfect look for any occasion or mood. From subtle and classic glitter accents to bold and bright sugar art nails, there are so many ways to play with color and sparkle. In addition to making your nails look beautiful and unique, nail art also provides an opportunity for some self-care and pampering.
Sugar nails in particular are a great way to make a statement with their bold colors and sparkly accents. Whether you choose to go all out with glitter fades or keep it simple with subtle glitter accents, you can create a unique and eye-catching look that will have everyone talking. With the right tools, colors, and techniques, you can create beautiful nail art looks that are sure to turn heads wherever you go.
Nail art is an ever-changing field and there are always new trends and designs emerging. By staying up to date on the latest trends, you can make sure your nails always look their best and reflect your unique style. So don’t be afraid to experiment and have fun with it! With sugar art nails, you are only limited by your imagination so get creative and let your nails shine.